
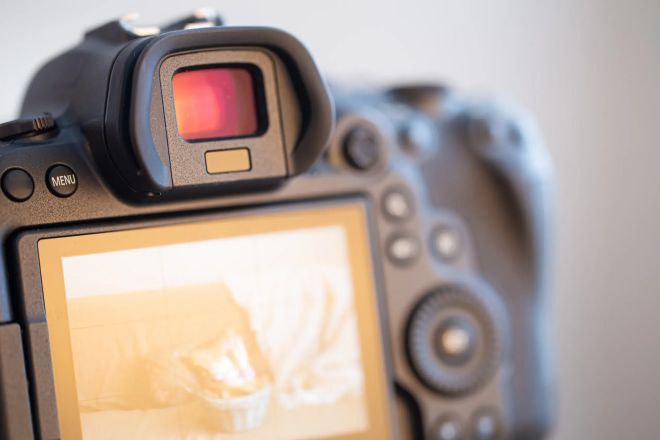
From the thrilling concert scene to the solemn conference hall, from the colorful fashion show stage to the creative exhibition space, LED displays are everywhere, enriching our visual experience.
However, it is not easy to perfectly freeze these dazzling pictures. Shooting LED displays is not only a test of the photographer’s technical level but also a comprehensive requirement of various abilities. A little carelessness may make the carefully prepared shooting plan fall short.
Therefore, this guide will explore the essence and skills of shooting LED displays in-depth, from equipment preparation to shooting implementation, and comprehensively analyze how to capture the best moments of LED displays on different occasions. Let’s take a look!
To shoot LED screens on different occasions, you need to adjust the shooting strategy and techniques according to the specific environment and needs. Here are some suggestions for shooting LED screens on different occasions:
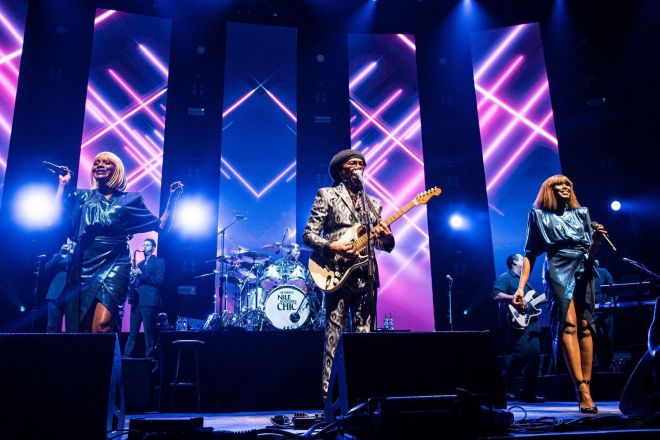
1). Concert
1.1). Shooting points:
- Time selection:
The best shooting time is usually when the concert is coming to an end, when the lighting and LED screen effects are the richest and most stable. At this time, the audience and the performers on the stage are in a more relaxed state, and it is easy to capture natural and vivid pictures.
- Position and angle:
Try to find a high position, such as the top floor or side wings of the auditorium, so as to capture a wider stage perspective.
Using a telephoto lens can help you get closer to the stage while reducing the interference of the crowd on the scene. Avoid standing directly in front of the LED screen to reduce the impact of reflections and glare on shooting.
- Exposure and white balance:
The lighting at the concert is complex and changeable, and the camera’s exposure and white balance settings need to be adjusted according to the actual situation.
You can try to use the camera’s spot metering mode to measure the highlights on the LED screen to obtain accurate exposure. At the same time, the white balance should be adjusted according to the color temperature of the stage lighting to ensure accurate color reproduction.
- Composition and creativity:
When composing, pay attention to organically combining elements such as the stage, LED screen, performers, and audience to form a visually impactful picture.
You can try to use classic composition methods such as the rule of thirds and symmetrical composition or use elements such as foreground and frame to increase the layering and depth of the picture.

2). Meeting
2.1). Key points for shooting:
- Clear subject:
When taking meeting photos, you must first clarify the subject and purpose of the photo. If it is to show the content of the meeting, you need to ensure that the information on the LED screen is clear and visible; if it is to highlight the person, you need to place the person in the center of the picture and ensure that his face is accurately exposed.
- Camera settings:
Choose appropriate camera settings according to the lighting conditions at the meeting site. If the light is dim, you can appropriately increase the ISO value to increase the amount of light entering, but you need to pay attention to controlling the generation of noise.
At the same time, the shutter speed and aperture size should be adjusted according to the layout of the meeting site and the position of the person to obtain a clear photo.
- Use of flash:
When using a flash at the meeting site, you need to pay attention to avoid the discomfort caused by direct exposure to the person’s eyes. You can choose to use a diffuser or adjust the angle of the flash to make the light softer and more natural.
If flash is prohibited at the conference site, consider using a high ISO value and a slower shutter speed to compensate for the lack of light.
- Composition and details:
When composing, pay attention to organically combining elements such as the speaker, audience, and LED screen of the conference. You can try to use different composition methods, such as symmetrical composition, rule of thirds composition, etc., to highlight the theme and atmosphere of the conference.
At the same time, pay attention to capturing the details of the conference site, such as slogans, banners, etc., to increase the amount of information and layering of the photos.
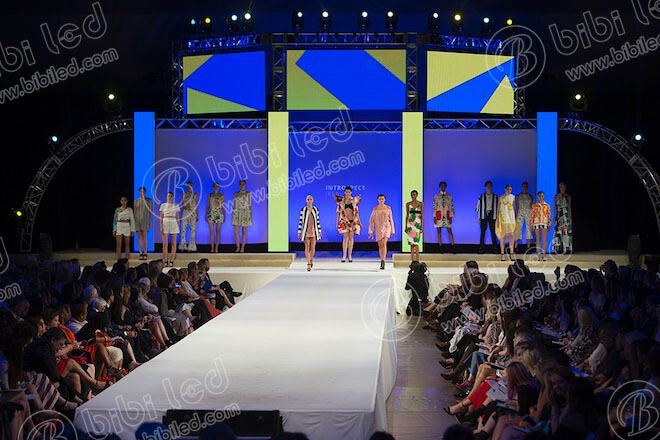
3). Fashion show
3.1). Shooting points:
- Dynamic capture:
The models and LED screens in the fashion show are constantly moving, so you need to set a faster shutter speed to capture clear moments. At the same time, using continuous shooting can help you capture more wonderful moments and increase the shooting success rate.
- Light utilization:
The light at the fashion show site is often more complex and changeable, and you need to make full use of the light effects of the on-site lights and LED screens to create a unique atmosphere and visual effects. You can try to use different light angles and intensities to highlight the texture and color of the clothing.
- Creative composition:
When composing, you can try to shoot the models and LED screens from multiple angles and heights. Low-angle shooting can highlight the tall figure of the model and the beautiful lines of the clothing; high-angle shooting can show the overall effect of the clothing and the stage layout.
At the same time, you can use elements such as foreground and frame to increase the layering and depth of the picture.
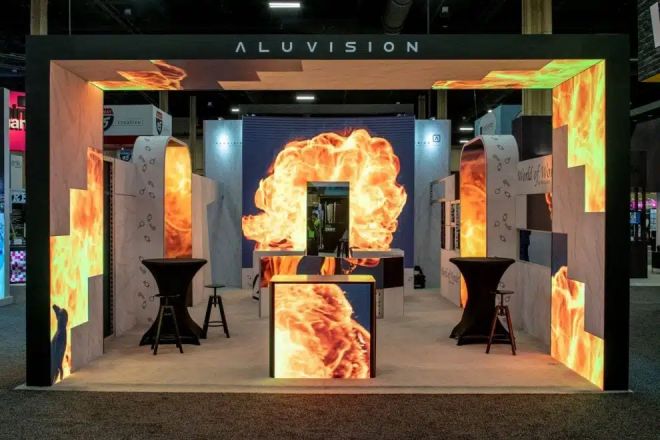
4). Exhibition show
4.1). Shooting points:
- Environmental analysis:
Before entering the exhibition site, briefly analyze the exhibition environment. Understand the theme, layout, and lighting conditions of the exhibition to plan the shooting route and composition method better.
- Combination of exhibits and screens:
When shooting, pay attention to combining the exhibits with the content on the LED screen. You can try to place the exhibits in front of or around the LED screen and use the text, patterns, and other elements on the screen to set off the characteristics and highlights of the exhibits. At the same time, pay attention to keeping the picture neat and simple and avoid too many messy elements interfering with the line of sight.
- Detail capture:
Exhibition shows often contain many details, such as the material, texture, color, etc., of the exhibits. When shooting, pay attention to capturing these detail elements to show the unique charm and craftsmanship of the exhibits.
- Interaction and atmosphere:
If there are audience interaction links or specific atmosphere creation in the exhibition, you can try to capture these moments to show the liveliness and fun of the exhibition. At the same time, pay attention to keep the picture natural and realistic, and avoid excessive posing or artificiality.
5). General Tips
Stable shooting: No matter where you shoot the LED display, you need to keep the camera stable. You can use a tripod or other stabilizing equipment to reduce the impact of camera shake on shooting.
Test shooting: Perform multiple test shots before the official shooting to adjust the camera settings and shooting parameters. Through test shooting, you can get familiar with the on-site environment and lighting conditions and prepare for the official shooting.
Post-processing: After shooting, you can use post-processing software to crop the photos, adjust the color and contrast, etc. to improve the photos.
When shooting LED displays, you may encounter multiple problems, which are mainly caused by the characteristics of LED displays, the limitations of shooting equipment, and the complexity of the shooting environment. The following are some common problems and their brief descriptions:
1). Stroboscopic phenomenon
The stroboscopic phenomenon is manifested as flickering or flickering stripes on the LED display when shooting, which is usually caused by the mismatch between the refresh rate of the display and the sampling rate of the shooting device.
1.1). Cause:
Similar to moiré, the stroboscopic phenomenon is also caused by the mismatch between devices. The difference is that stroboscopic is more focused on the difference between the refresh rate of the display itself and the speed at which the shooting device captures images.
1.2). Solution:
Adjust the parameters of the shooting device, especially the shutter speed, to match the refresh rate of the display.
Use an external stabilizer: Reduce jitter and shaking during shooting, which helps to reduce stroboscopic phenomena.
Choose a high refresh rate display: If conditions permit, you can replace it with an LED display with a higher refresh rate.
2). Exposure problem
When shooting LED displays, you may encounter underexposure or overexposure problems, resulting in images that are too dark or too bright.
2.1). Cause:
Exposure problems are usually related to the light conditions of the shooting environment, the brightness of the display, and the exposure settings of the shooting device.
2.2). Solution:
Use a flash: In low light conditions, you can use a flash to provide additional light to the display.
Adjust exposure settings: According to the shooting environment and the brightness of the display, adjust the camera’s exposure compensation, ISO sensitivity and other parameters.
Use a lens hood: Reduce the impact of external light on shooting and maintain the clarity of the image.
3). Color distortion
When shooting LED displays, you may encounter color distortion problems; that is, the color on the display is inconsistent with the color of the image after shooting.
3.1). Cause:
Color distortion may be related to the color mode of the display, the white balance setting of the shooting device, and the light conditions of the shooting environment.
3.2). Solution:
Adjust the white balance: Adjust the white balance setting of the camera according to the light conditions of the shooting environment.
Choose the right color mode: Make sure the display color matches the shooting device’s color mode.
Post-processing: Use image processing software to correct and adjust the color during image post-processing.
4). Reflection and glare
When shooting LED displays, you may encounter reflection and glare problems, that is, the content on the display is reflected or glare occurs.
4.1). Cause:
Reflection and glare are usually caused by external light (such as sunlight lights) shining on the surface of the display and reflecting into the shooting device.
4.2). Solution:
Use a hood: Equip the shooting device with a hood to reduce interference from external light.
Adjust the shooting angle and position: Try to avoid pointing the shooting device directly at the light source or reflective surface.
Turn off unnecessary lights: Turn off or adjust the surrounding lights before shooting to reduce reflection and glare.