Introduction

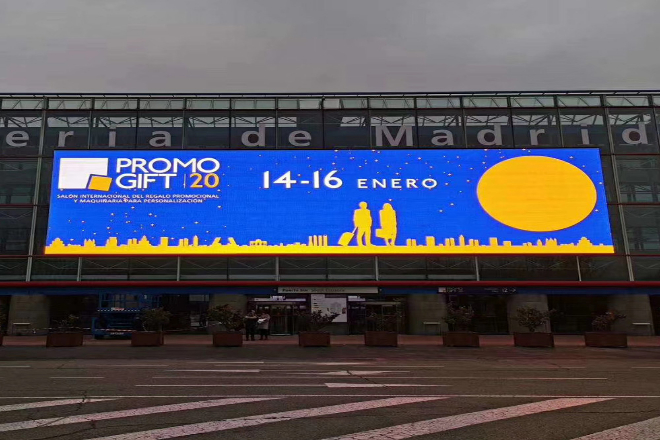
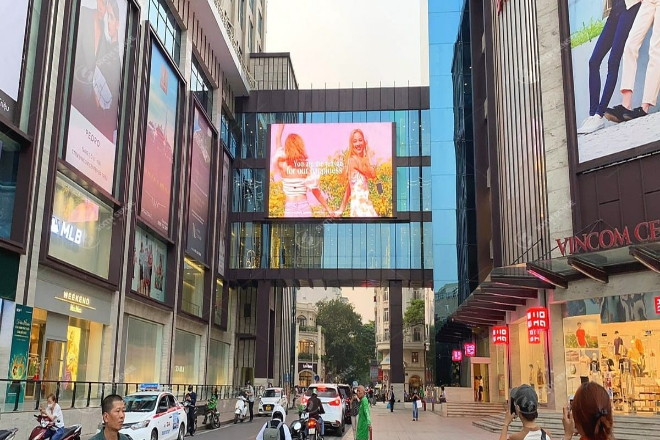
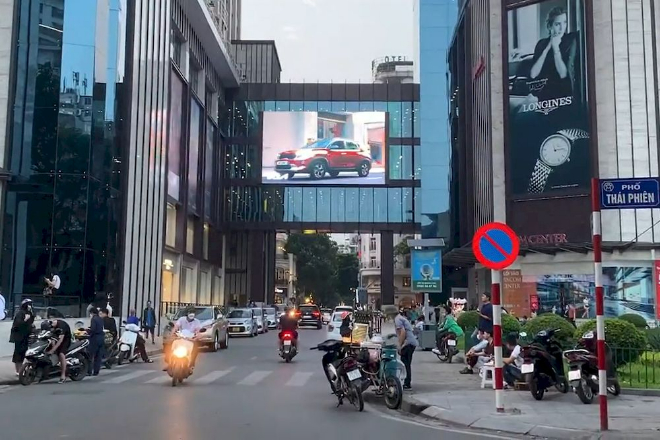
You may have seen écrans LED transparents installed on glass exterior walls, but do you know? With the popularity of LED displays, people are no longer satisfied with only installing transparent LED displays on glass building exterior walls.
However, this also creates new challenges and opportunities for the installation of écrans LED extérieurs. However, the particularity of glass exterior walls puts higher requirements on the installation of LED displays.
How to achieve the perfect integration of LED displays and glass exterior walls while ensuring safety and beauty has become a problem that needs to be solved urgently.
Step 1: Analysis of the characteristics of glass exterior walls

1). Material characteristics:
When you stand in front of a modern high-rise building, the crystal clear glass exterior wall is like a huge canvas, waiting for the gorgeous embellishment of the LED display. But do you know? The exterior wall material of this building is very particular.
Tempered glass, like a tenacious guardian, not only strengthens the impact resistance of glass but also reduces the possible damage when it breaks. Imagine that in a storm, the LED display is still firmly “attached” to the tempered glass, thanks to its firmness and reliability.
Moreover, some tempered glass is specially added with an anti-glare film, just like putting a pair of sunglasses on display, so that it can maintain a clear display effect even under strong light.
Laminated glass not only has good sound insulation but also allows light to penetrate more softly while blocking those annoying ultraviolet rays. In this way, whether it is the sun during the day or the lights at night, the colors of the LED display can be made more vivid and full.
Of course, glass also has its “little temper” – thermal expansion and contraction. Fortunately, the thermal expansion and contraction coefficient of glass is relatively small. As long as we leave enough expansion joints during installation, we can avoid glass breakage or display displacement caused by temperature changes.
Speaking of light transmittance, that is a highlight of the glass exterior wall. High-quality glass is like a transparent gem that allows light to pass freely. The LED display screen takes advantage of this and displays the art of light and shadow to the fullest.
Therefore, when choosing glass, we have to choose those with good light transmittance and high purity so that the effect of the display can be taken to the next level.
As for the load-bearing capacity, don’t look at the thinness of glass; it is a “strongman.” Generally speaking, 10mm thick glass can bear a lot of weight. Of course, when installing the LED display, we will still carry out detailed load-bearing calculations to ensure that there is no risk.
2). Structural characteristics:
The structure of the glass exterior wall is also varied, with single-layer, double-layer, and the kind of high-end curtain wall structure. Each structure has its own unique charm and also brings different challenges to the installation of the LED display.
The single-layer glass exterior wall is like a minimalist artist, simple and direct, and relatively easy to install. However, we have to pay attention to its load-bearing and light transmittance; after all, the LED display is not a light piece of paper.
The double-layer glass exterior wall is like a warm-keeping expert wearing two layers of clothes. Although the thermal insulation effect is first-class, we also have to consider the impact of the air layer in the middle on the heat dissipation of the display. Therefore, during installation, we may need some special heat dissipation design to ensure that the display screen will not “fever” due to “too much wear.”
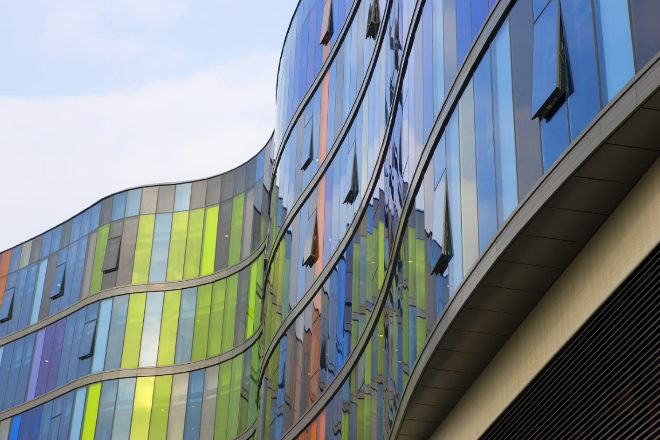
As for the curtain wall structure, it is simply a “luxury package” in the glass exterior wall. Various arcs, fan-shaped triangles, circles… It’s simply dazzling. This structure has high requirements for the installation of LED display screens.
Not only must the size and shape be customized, but the installation method must also be specially handled. After all, we can’t let the display screen look out of place on such a beautiful curtain wall.
In short, the material and structure of the glass exterior wall are like the “foundation” of the LED display screen. Only by choosing the right one and installing it well can the display screen shine the most dazzling light on this “canvas.”
Step 2: Preparation before installation

Installing LED display screens on glass exterior walls is not a simple matter. We must make sufficient preparations to ensure the smooth progress of the installation process and the stable long-term operation of the display screen. Next, let’s talk about the important preparations before installation!
1). On-site inspection:
First, you need to send a professional inspection team to conduct a careful “physical examination” of the glass exterior wall. This is not just a cursory inspection, but like a detective, not letting go of any possible hidden dangers.
- Integrity inspection:
You need to carefully check each piece of glass in the glass exterior wall to ensure that they are not at risk of cracks, breakage, or falling off. You should know that even a small crack may become a safety hazard after the display is installed.
- Dimension measurement:
Next, you need to accurately measure the dimensions of the glass exterior wall. This includes the thickness of the glass, the overall size of the exterior wall, and the specific location parameters where you plan to install the display.
These data will directly affect the selection, design, and installation plan of the subsequent display.
2). Material selection and design:
With the data of the on-site inspection as a basis, you can enter the stage of material selection and design.
- Sélection des matériaux :
When choosing an LED display, you have to consider many factors. For example, how is the light transmittance of the glass exterior wall?
If the light transmittance is good, we may need to choose a thin and high-brightness LED display to ensure a good display effect even in a strong light environment.
In addition, the power consumption, life, and maintenance cost of the display are also important factors we need to consider.
- Design and installation plan:
After the material selection is completed, the next step is to design the installation plan. This is really a technical job! You have to consider the weight and size of the display and how it should be installed on the glass exterior wall.
Should you choose a hanging method or a pasting method? This needs to be determined according to the specific site conditions and the characteristics of the display. At the same time, you also need to design a way to fix the display.
Is it supported by a bracket or a special fixing device such as a suction cup? These all require you to carefully design and calculate according to the actual situation.
Step 3: Installation method and steps
After careful preparation in the early stage, we finally ushered in the highlight of the LED display installation. Different installation methods have their own characteristics and applicable scenarios. Next, let’s talk about these three common installation methods in detail!
1). Bracket installation method:
The bracket installation method is like creating a solid “base” for the LED display.
- Customized bracket:
First, you need to customize a special bracket according to the size and weight of the display. This bracket should not only have a flat contact surface with the glass exterior wall but also be strong enough to bear the weight of the display and possible wind impact.
- Install the bracket:
After the bracket is customized, you can use professional fixings, such as bolts, nuts, etc., to firmly install the bracket on the glass exterior wall. During the installation process, we must ensure that every part of the bracket fits the glass tightly without any gaps to ensure its stability.
- Installer l'écran :
Finally, you need to install the LED display on the bracket and adjust it to the best viewing angle according to actual needs. This step requires special care because even a slight deviation in the angle may affect the audience’s viewing experience.
2). Hoisting installation method:
The hoisting installation method is undoubtedly a double test of your skills and courage.
- Design a hoisting plan:
First, you need to design a reasonable hoisting plan based on the site conditions and the weight, size, and other parameters of the display.
This plan must not only ensure safety and stability during the hoisting process but also take into account the adjustment and maintenance after the hoisting is completed.
- Hoisting display screen:
After the plan is determined, you can use professional hoisting equipment, such as cranes, hanging baskets, etc., to hoist the LED display screen to the predetermined position on the glass exterior wall. During the hoisting process, you must always pay attention to the status of the display screen to ensure that it is not damaged in any way.
- Fine adjustment:
After the hoisting is completed, you also need to make fine adjustments to the display screen. This includes adjusting the fit between the display screen and the glass exterior wall, adjusting the viewing angle, etc.
Only through such fine adjustments can you ensure that the display screen has the best presentation effect.
In general, no matter which installation method you choose, you need to maintain a high sense of responsibility and a meticulous work attitude. Only in this way can you ensure the perfect presentation of the LED display screen on the glass exterior wall.
Step 4: Installation precautions

Installing LED display screens on glass exterior walls is not an easy task. This requires not only technology but also your carefulness and patience. After all, every little detail may affect the effect of the entire installation and the life of the display screen.
So, next, let’s talk about those small details that must not be ignored during the installation process so that the whole process will be smoother and the display screen can serve us better.
1). Safety protection:
When it comes to installation, safety is definitely the first priority. We don’t want anything to go wrong during the installation process, right?
- Personal protection must be adequate:
Safety helmets and safety belts are standard equipment and cannot be missing. They are like our “guardian angels” and can save our lives at critical moments. So, don’t be bothered and be sure to wear them.
- Someone must be watching on site:
The installation site cannot be left unattended. You have to find a reliable person to watch there so that if there is any emergency, you can respond in time to avoid accidents.
2). Glass protection:
The glass exterior wall is the “face” of our building and must be treated well.
- Don’t let it get hurt:
During installation, we have to be careful not to let the glass be scratched or damaged. Otherwise, it will not only affect appearance but also pose safety hazards.
- Put something soft to cushion it:
In order to protect the glass, you can use something soft, such as foam pads, cotton cloth, etc., to separate the glass from the installation tools and display screen. In this way, even if you accidentally touch it, you can reduce the damage.
3). Waterproof and dustproof:
An LED display is a delicate thing, and it is afraid of water and dust.
- Sealing must be done well:
The wiring and connection of the display are most likely to get water and dust. Therefore, we have to use waterproof glue and waterproof pads to seal them well so that water and dust can’t get in.
- Regular inspection is essential:
After installation, we have to regularly check the waterproof and dustproof performance of the display. If there are any problems, we have to deal with them quickly, and we shouldn’t let these small things affect the big things on the display.
4). Heat dissipation and ventilation:
The LED display will heat up when it works. If the heat dissipation is not good, it will easily cause problems.
- The heat dissipation system must be designed well:
Before installation, we have to consider the heat dissipation of the display. Heat sinks, fans, and liquid cooling can be used to dissipate heat. In short, we must ensure that the display can work normally and will not “strike” due to overheating.
- Ventilation is also important:
In addition to the heat dissipation system, we must also ensure that there is enough ventilation space around the display. This allows air to circulate and take away the heat generated by the display. If the display screen is “covered” tightly, it will be easy to cause problems.
Conclusion
In summary, installing an outdoor LED display screen on a glass exterior wall is a comprehensive project that integrates technology, art, and safety.
Through scientific and reasonable installation methods, rigorous and meticulous precautions, and thoughtful and comprehensive post-maintenance, we can not only ensure the stable installation and long-term operation of the LED display screen on the glass exterior wall but also maximize its positive role in urban beautification, information dissemination, etc.
Enfin, si vous souhaitez en savoir plus sur les écrans d'affichage LED, veuillez nous contacter.
